How to set up auto - tracking on a PTZ Keyboard Controller?
Leave a message
Hey there! As a supplier of PTZ Keyboard Controllers, I often get asked about how to set up auto - tracking on these nifty devices. Auto - tracking is a game - changer when it comes to surveillance and monitoring, allowing the camera to follow moving objects automatically. In this blog, I'll walk you through the steps to set up auto - tracking on a PTZ Keyboard Controller.
Understanding the Basics of PTZ Keyboard Controllers
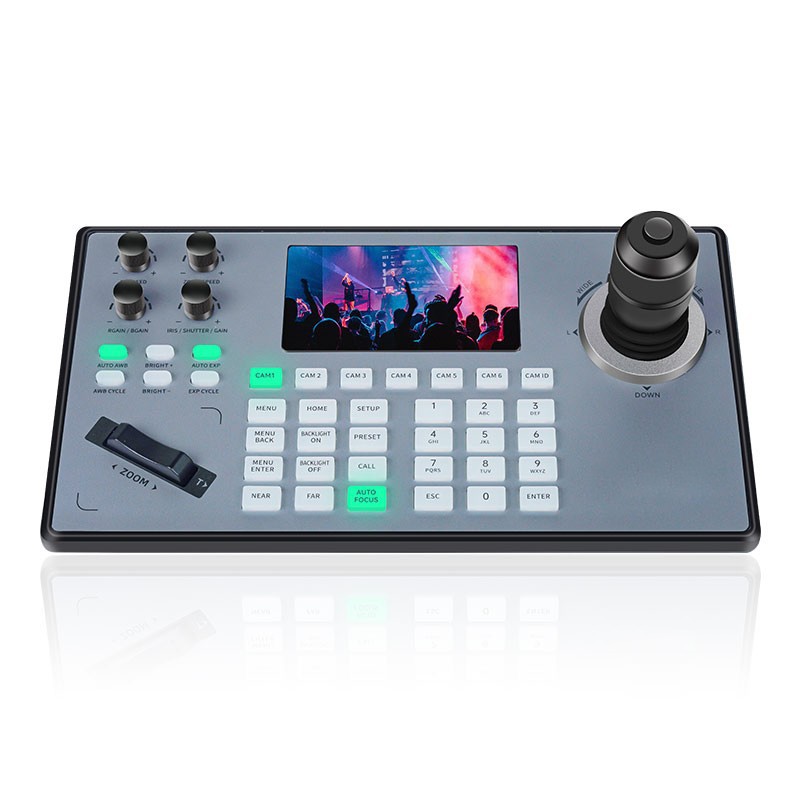
Before we dive into the auto - tracking setup, let's quickly go over what a PTZ Keyboard Controller is. PTZ stands for Pan, Tilt, and Zoom. These controllers give you the ability to remotely control the movement and focus of PTZ cameras. You can move the camera horizontally (pan), vertically (tilt), and adjust the zoom level to get a closer or wider view of the area you're monitoring.
There are different types of PTZ Keyboard Controllers out there, like the Pelco Ptz Controller, Ip Ptz Keyboard Controller, and IP Ptz Camera Controller. Each has its own features and capabilities, but the basic process of setting up auto - tracking is quite similar across the board.
Prerequisites for Setting Up Auto - Tracking
First things first, you need to make sure you have the right equipment. Obviously, you'll need a PTZ Keyboard Controller and a compatible PTZ camera. The camera should support auto - tracking functionality. Most modern PTZ cameras do, but it's always a good idea to double - check the camera's specifications.
You'll also need to have the controller properly connected to the camera. This usually involves connecting the controller to the camera via an Ethernet cable or a serial connection, depending on the type of equipment you have. Make sure all the cables are securely plugged in and that the power is on for both the controller and the camera.
Step 1: Accessing the Camera Settings
The first step in setting up auto - tracking is to access the camera settings through the PTZ Keyboard Controller. To do this, turn on the controller and the camera. On the controller, you'll usually find a menu button or a set of buttons that allow you to navigate through the system.
Press the menu button and use the arrow keys on the controller to navigate to the camera settings section. This might be labeled something like "Camera Setup" or "Device Settings." Once you're in the camera settings, look for the option related to auto - tracking. It could be called "Auto - Tracking," "Motion Tracking," or something similar.
Step 2: Configuring the Auto - Tracking Parameters
Once you've found the auto - tracking option, it's time to configure the parameters. There are several settings you can adjust to make the auto - tracking work the way you want it to.
- Sensitivity: This setting determines how sensitive the camera is to motion. If you set the sensitivity too high, the camera might start tracking every little movement, even things like leaves blowing in the wind. On the other hand, if the sensitivity is too low, it might miss important movements. You'll need to find the right balance based on your specific environment.
- Tracking Area: You can define the area within the camera's field of view where you want the auto - tracking to work. This is useful if you only want to monitor a specific part of the scene. Use the controller's arrow keys to select and adjust the boundaries of the tracking area.
- Tracking Speed: You can also adjust how fast the camera moves when it's tracking an object. If you set the speed too high, the camera might overshoot the object, and if it's too low, the object might move out of the frame before the camera can catch up.
Step 3: Testing the Auto - Tracking
After you've configured the auto - tracking parameters, it's time to test it out. Get someone or something to move within the tracking area you've defined. You should see the camera start to follow the movement automatically.
If the camera isn't tracking properly, go back to the settings and make some adjustments. Maybe the sensitivity is too low, or the tracking speed needs to be tweaked. Keep testing and adjusting until you're satisfied with the performance.
Step 4: Saving the Settings
Once you're happy with how the auto - tracking is working, you need to save the settings. In the camera settings menu, look for an option to save the configuration. This will ensure that the auto - tracking settings are retained even if you turn off the camera or the controller.
Troubleshooting Common Issues
Sometimes, things don't go as smoothly as we'd like. Here are some common issues you might encounter when setting up auto - tracking and how to fix them:
- Camera Not Tracking at All: If the camera isn't tracking anything, first check the connections between the controller and the camera. Make sure the cables are plugged in properly and that the power is on. Also, double - check that the auto - tracking option is enabled in the camera settings.
- Erratic Tracking: If the camera is tracking erratically, it could be due to a high sensitivity setting. Try lowering the sensitivity and see if that helps. It could also be caused by interference from other sources, like electromagnetic fields. Make sure there are no large electrical devices near the camera or the controller.
- Tracking Too Slowly or Too Fast: If the camera is tracking too slowly or too fast, adjust the tracking speed setting in the camera settings. Keep testing until you find the right speed.
Benefits of Auto - Tracking
Auto - tracking offers several benefits for surveillance and monitoring. For one, it reduces the need for constant manual operation of the camera. You can set up the auto - tracking and let the camera do the work for you, which is especially useful in large areas or when you have multiple cameras to monitor.
It also improves the accuracy of monitoring. The camera can follow an object more precisely than a human operator, ensuring that you don't miss any important movements. This can be crucial in security applications, where every second counts.
Conclusion
Setting up auto - tracking on a PTZ Keyboard Controller might seem a bit daunting at first, but it's actually a pretty straightforward process. By following the steps outlined in this blog, you should be able to get your auto - tracking up and running in no time.
If you're in the market for a PTZ Keyboard Controller or have any questions about setting up auto - tracking, don't hesitate to reach out. We're here to help you make the most of your surveillance equipment. Whether you're a small business owner looking to monitor your premises or a large - scale security operation, our PTZ Keyboard Controllers can provide the functionality you need.
References
- Manufacturer's manuals for PTZ Keyboard Controllers and PTZ cameras
- Industry knowledge and experience in surveillance and monitoring systems


