How to calibrate a Blackmagic PTZ camera?
Leave a message
Hey there! As a supplier of Blackmagic PTZ cameras, I often get asked about how to calibrate these amazing pieces of equipment. Calibrating your Blackmagic PTZ camera is crucial to ensure you get the best possible video quality for your conferences, events, or any other applications. In this blog post, I'll walk you through the steps to calibrate a Blackmagic PTZ camera, so let's dive right in!
Why Calibration Matters
Before we get into the calibration process, let's quickly talk about why it's so important. A well - calibrated camera can make a world of difference in the final output. It helps in achieving accurate colors, sharp focus, and proper exposure. Whether you're using the 1080P USB HD Video Conference Camera for a small meeting or the pan tilt zoom video camera for large conference room call in a big event hall, calibration ensures that your viewers get a clear and engaging visual experience.
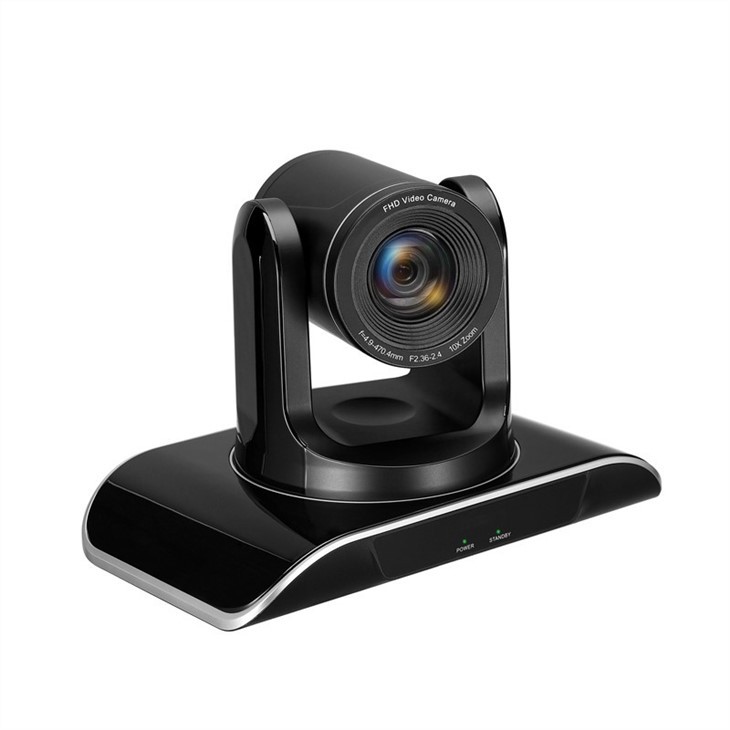
Step 1: Set Up Your Camera
The first step in calibrating your Blackmagic PTZ camera is to set it up properly. Find a stable location for the camera where it has a good view of your subject. Make sure the camera is level and securely mounted. If you're using it for a large conference room, you might want to consider the Large Conference Room Camera which is designed to cover a wider area.
Once the camera is in place, connect it to your power source and the appropriate video output device, like a computer or a video switcher. Make sure all the cables are properly plugged in to avoid any signal issues.
Step 2: Focus Calibration
Now, let's start with the focus calibration. Most Blackmagic PTZ cameras have an autofocus feature, but it's still a good idea to fine - tune the focus manually for the best results.

- Auto - Focus Test: First, switch on the autofocus function and point the camera at your subject. Watch the viewfinder or the connected monitor to see if the camera focuses correctly. If it does, you're good to go. However, if the focus seems off, you'll need to adjust it manually.
- Manual Focus Adjustment: To adjust the focus manually, switch the camera to manual focus mode. You can usually do this through the camera's menu or a dedicated button on the control panel. Use the focus ring or the digital controls to adjust the focus until your subject is sharp and clear. Take your time with this step, as a blurry image can really ruin the video quality.
Step 3: Exposure Calibration
Exposure is all about getting the right amount of light in your shot. A well - exposed image has a good balance between bright and dark areas, and it makes the video look more professional.
- Auto - Exposure Test: Similar to the focus test, start by using the auto - exposure function. Point the camera at your subject and check the exposure on the monitor. If the image is too bright or too dark, you'll need to make some adjustments.
- Manual Exposure Adjustment: Switch to manual exposure mode. You can control the aperture, shutter speed, and ISO settings to adjust the exposure. If the image is too bright, you can close down the aperture (increase the f - number), decrease the ISO, or increase the shutter speed. If it's too dark, do the opposite. It might take a few tries to get the perfect exposure, so be patient.
Step 4: White Balance Calibration
White balance is crucial for accurate color reproduction. Different lighting conditions can make colors look different, so you need to adjust the white balance to make sure the whites in your video look truly white.
- Auto - White Balance: Try the auto - white balance setting first. The camera will try to adjust the color temperature based on the lighting in the scene. In many cases, this setting works well, but it might not be perfect in all situations.
- Manual White Balance: If the auto - white balance doesn't give you the results you want, switch to manual white balance. You'll need a white or gray reference object, like a white piece of paper. Point the camera at the reference object and fill the frame with it. Then, use the camera's white balance calibration function to set the correct color temperature.
Step 5: Pan, Tilt, and Zoom Calibration
If you're using the pan, tilt, and zoom features of your Blackmagic PTZ camera, it's important to calibrate them as well. This ensures that the camera moves smoothly and accurately.
- Initial Movement Test: Use the camera's control panel or a remote control to test the pan, tilt, and zoom functions. Watch the camera as it moves and make sure there are no jerks or irregularities.
- Calibration Settings: If you notice any issues with the movement, you can usually find calibration settings in the camera's menu. These settings allow you to adjust the speed, acceleration, and other parameters of the pan, tilt, and zoom movements.
Step 6: Check the Image Quality
Once you've completed all the calibration steps, take a few test shots or record a short video. Check the image quality on the monitor or the playback device. Look for any remaining issues with focus, exposure, color, or movement. If you find any problems, go back and make the necessary adjustments.
Step 7: Save Your Settings
After you're satisfied with the calibration, save the settings in the camera's memory. This way, you won't have to go through the calibration process every time you use the camera. Most Blackmagic PTZ cameras allow you to save multiple sets of settings, so you can have different presets for different lighting conditions or shooting scenarios.
Contact for Purchase and Further Assistance
If you're interested in purchasing a Blackmagic PTZ camera or need more information about calibration or any other aspect of these cameras, don't hesitate to reach out. We're here to help you get the most out of your video equipment. Whether you're a small business looking for a cost - effective solution or a large enterprise in need of high - end equipment, we have the right camera for you.
References
- Blackmagic Design official documentation
- Video production industry best practices guides


