How to connect a daisy chain microphone to a MIDI controller?
Leave a message
Hey there, audio enthusiasts! I'm here as a supplier of Daisy Chain Microphones to walk you through the process of connecting a daisy chain microphone to a MIDI controller. Whether you're a professional musician, a budding podcaster, or just someone looking to set up a great audio system, this guide is for you.
First off, let's talk a bit about what a daisy chain microphone is. A daisy chain microphone setup allows you to connect multiple microphones in a series, so you can capture audio from different sources all at once. It's a great way to get high - quality audio in a multi - input scenario, like a band rehearsal or a large conference call.
Now, why would you want to connect a daisy chain microphone to a MIDI controller? Well, MIDI controllers are not just for controlling musical instruments. They can also be used to manage audio settings, like volume, panning, and mute functions. By connecting your daisy chain microphone to a MIDI controller, you can have more hands - on control over your audio setup, making it easier to adjust settings on the fly.
Step 1: Gather Your Equipment
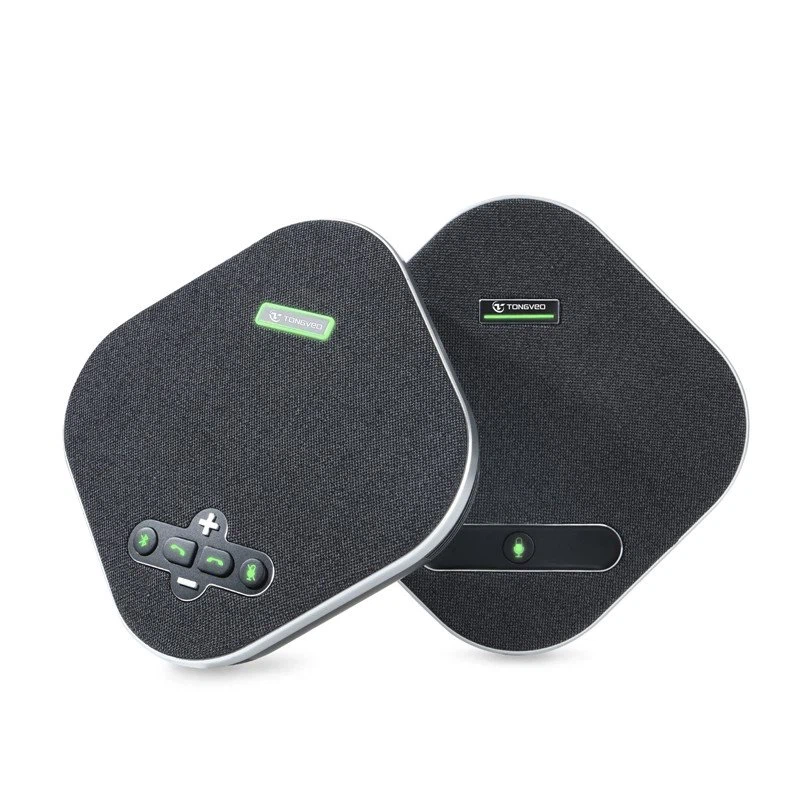
Before you start connecting anything, you need to make sure you have all the necessary equipment. You'll obviously need your daisy chain microphone. We offer a USB Omnidirectional Conference Microphone that's perfect for this kind of setup. It has great sound quality and is easy to daisy chain with other microphones.
You'll also need your MIDI controller. There are many different models out there, so make sure you choose one that suits your needs. Some MIDI controllers come with built - in audio interfaces, which can make the connection process a bit easier.
In addition to the microphone and the MIDI controller, you'll need the right cables. You'll typically need USB cables to connect the microphones to the MIDI controller, and possibly some audio cables if your MIDI controller requires them.
Step 2: Check Compatibility
Once you have all your equipment, it's important to check the compatibility between your daisy chain microphone and your MIDI controller. Not all MIDI controllers are compatible with every type of microphone.
Check the specifications of your MIDI controller to see if it supports daisy chain microphone connections. Look for information about the number of inputs it can handle, the type of audio signals it can process, and whether it has the necessary drivers for your microphone.
If your MIDI controller has a built - in audio interface, make sure it has enough channels to accommodate all the microphones in your daisy chain. For example, if you have a daisy chain of three microphones, your MIDI controller's audio interface should have at least three input channels.
Step 3: Connect the Microphones in a Daisy Chain
Now it's time to connect the microphones in a daisy chain. Start by connecting the first microphone to your power source if it requires one. Most USB microphones can draw power directly from the USB port, but some may need an external power supply.
Next, connect the first microphone to the second microphone using the appropriate cable. Usually, this will be a USB cable. Make sure the connection is secure. Repeat this process for each additional microphone in your daisy chain.
Once all the microphones are connected in a daisy chain, you should have a single output cable from the last microphone in the chain. This is the cable that you'll use to connect the entire daisy chain to your MIDI controller.
Step 4: Connect the Daisy Chain to the MIDI Controller
Take the output cable from the daisy chain and connect it to the input port on your MIDI controller. If your MIDI controller has multiple input ports, choose the one that's appropriate for the type of audio signal your microphones are sending.
If your MIDI controller requires drivers to recognize the microphone, you'll need to install them at this point. You can usually find the drivers on the manufacturer's website. Just download and install them according to the instructions provided.
Step 5: Configure the MIDI Controller
After connecting the daisy chain to the MIDI controller, you need to configure the MIDI controller to recognize and use the microphones.
Open the software that comes with your MIDI controller. This software is usually used to manage the settings of the controller. Look for the audio input settings section.
In the audio input settings, select the input source that corresponds to your daisy chain microphone. You may also need to adjust the gain settings for each microphone in the chain. The gain setting controls the volume level of the audio signal coming from the microphone.
You can also assign MIDI functions to the microphones. For example, you can assign a MIDI button on the controller to mute or unmute a specific microphone in the daisy chain.
Step 6: Test the Setup
Once you've configured the MIDI controller, it's time to test the setup. Speak or make some noise near each microphone in the daisy chain and listen for the audio output. You can use headphones connected to the MIDI controller to monitor the audio.
Check the levels of each microphone on the MIDI controller's software. Make sure the audio is clear and that there are no issues with distortion or feedback. If you notice any problems, go back and adjust the settings on the MIDI controller or check the connections between the microphones.
Troubleshooting Tips
If you're having trouble getting the setup to work, here are some common issues and solutions:
- No audio output: First, check all the connections to make sure they're secure. Make sure the microphones are powered on and that the MIDI controller is recognizing them. You may also need to check the volume settings on both the microphones and the MIDI controller.
- Distorted audio: This could be due to a high gain setting. Try lowering the gain on the MIDI controller for the affected microphones. It could also be caused by a problem with the cables or the microphones themselves. Check for any damaged cables and try replacing them if necessary.
- MIDI functions not working: Make sure you've correctly assigned the MIDI functions to the microphones in the MIDI controller's software. You may also need to check the MIDI settings to ensure they're configured correctly.
Conclusion
Connecting a daisy chain microphone to a MIDI controller may seem a bit complicated at first, but if you follow these steps, you should be able to set it up without any major issues. It's a great way to have more control over your audio setup and get high - quality audio from multiple sources.
If you're interested in purchasing a daisy chain microphone for your setup, we're here to help. We offer a wide range of high - quality daisy chain microphones, including the USB Omnidirectional Conference Microphone. Whether you're a small business looking to set up a conference call system or a musician recording a live performance, our microphones can meet your needs.
If you have any questions or want to discuss your specific requirements, feel free to reach out. We're always happy to help you find the right audio solution for your situation.
References
- Manufacturer's manuals for daisy chain microphones
- Manufacturer's manuals for MIDI controllers
- Online audio forums and communities for troubleshooting tips


