How to connect a 1080p conference cam to a laptop?
Leave a message
In today's digital age, video conferencing has become an essential part of our work and personal lives. Whether you're conducting business meetings, catching up with friends and family, or participating in online courses, a high-quality conference camera can significantly enhance your communication experience. As a trusted 1080p conference cam supplier, we understand the importance of seamless connectivity and exceptional video quality. In this blog post, we'll guide you through the process of connecting a 1080p conference cam to your laptop, ensuring you can make the most of your video conferencing sessions.
Step 1: Choose the Right Conference Camera
Before you start connecting your conference camera, it's crucial to select the one that best suits your needs. Our company offers a wide range of High Quality Camera For Video Conferencing designed for various environments, from small home offices to large conference rooms. Consider factors such as the camera's resolution, field of view, frame rate, and additional features like autofocus and noise reduction.
If you're using the camera for home-based video conferencing calls, our huddle camera for video conferencing calls at home is an excellent choice. It provides a wide field of view and high-quality video, making it ideal for small group meetings. For larger conference rooms, our Conference Large Room Skype Camera offers exceptional clarity and coverage, ensuring everyone in the room can be seen clearly.
Step 2: Check Compatibility
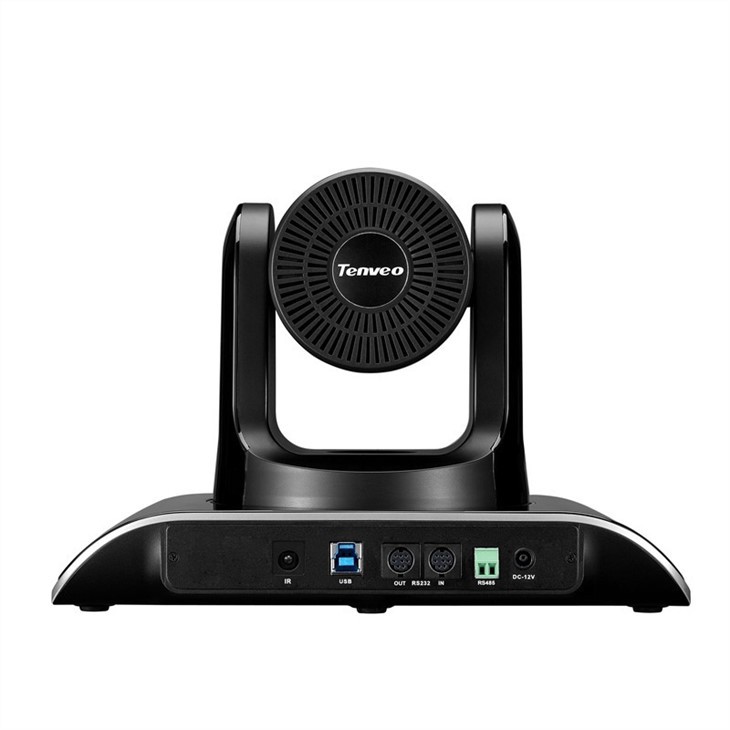
Once you've chosen the right conference camera, the next step is to ensure it's compatible with your laptop. Most modern laptops support USB connectivity, which is the most common way to connect a conference camera. Check your laptop's specifications to confirm that it has a USB port and the necessary drivers to support the camera.
If your laptop doesn't have a USB port or if you're using an older model, you may need to use an adapter or consider a wireless conference camera. Some conference cameras also support Wi-Fi or Bluetooth connectivity, allowing you to connect them to your laptop without the need for cables.
Step 3: Prepare Your Laptop
Before connecting the conference camera, it's a good idea to prepare your laptop by installing any necessary software or drivers. Many conference cameras come with their own software that provides additional features and settings, such as image adjustment, privacy modes, and remote control.
To install the software, insert the installation CD that came with the camera or download the latest version from the manufacturer's website. Follow the on-screen instructions to complete the installation process. Once the software is installed, restart your laptop to ensure the changes take effect.
Step 4: Connect the Conference Camera
Now that your laptop is ready, it's time to connect the conference camera. If you're using a USB camera, simply plug the camera's USB cable into an available USB port on your laptop. Your laptop should automatically detect the camera and install the necessary drivers.
If your camera supports Wi-Fi or Bluetooth connectivity, follow the manufacturer's instructions to pair the camera with your laptop. This may involve pressing a button on the camera to enter pairing mode and then selecting the camera from your laptop's list of available devices.
Step 5: Configure the Camera Settings
After connecting the conference camera, you may need to configure the camera settings to ensure optimal performance. Open the camera software or the video conferencing application you'll be using and navigate to the settings menu. Look for options such as video resolution, frame rate, focus mode, and white balance.
Adjust these settings based on your environment and personal preferences. For example, if you're in a well-lit room, you may want to set the white balance to "Auto" to ensure accurate colors. If you're recording a presentation, you may want to set the focus mode to "Manual" to keep the subject in focus.
Step 6: Test the Camera
Once you've configured the camera settings, it's important to test the camera to ensure it's working properly. Open a video conferencing application such as Zoom, Skype, or Microsoft Teams and start a test call. Check the video quality, audio levels, and overall performance of the camera.
If you're experiencing any issues, such as poor video quality, audio problems, or connectivity issues, refer to the camera's user manual or contact the manufacturer's support team for assistance. They can help you troubleshoot the problem and provide solutions to ensure your conference camera is working at its best.
Step 7: Optimize Your Video Conferencing Setup
To get the most out of your conference camera, it's important to optimize your video conferencing setup. Here are some tips to help you create a professional and comfortable video conferencing environment:
- Position the camera correctly: Place the camera at eye level and ensure it's centered on your face. This will give you a more natural and engaging appearance during video conferences.
- Control the lighting: Avoid sitting in front of a bright window or harsh light source, as this can cause glare and shadows. Instead, use soft, diffused lighting to illuminate your face evenly.
- Minimize background distractions: Choose a clean and uncluttered background for your video conferences. You can use a backdrop or simply clear the area behind you to create a professional look.
- Use a microphone: While most conference cameras come with built-in microphones, using an external microphone can significantly improve the audio quality of your video conferences. Consider using a USB microphone or a headset with a microphone for the best results.
Conclusion
Connecting a 1080p conference cam to your laptop is a straightforward process that can greatly enhance your video conferencing experience. By following the steps outlined in this blog post, you can ensure a seamless connection and optimal performance of your conference camera.

If you're interested in purchasing a high-quality 1080p conference cam for your business or personal use, we invite you to contact us for more information. Our team of experts is available to help you choose the right camera for your needs and provide you with professional support and advice.
References
- Manufacturer's user manuals for conference cameras
- Video conferencing application documentation
- Online resources and forums for video conferencing tips and troubleshooting


