How do I upgrade a daisy chain microphone system?
Leave a message
Upgrading a daisy chain microphone system can significantly enhance the audio quality and functionality of your setup, whether it's for a professional conference room, a recording studio, or a live event. As a supplier of Daisy Chain Microphones, I've witnessed firsthand the transformative impact of a well - executed upgrade. In this blog, I'll guide you through the process of upgrading your daisy chain microphone system.
Understanding Daisy Chain Microphone Systems
Before diving into the upgrade process, it's essential to understand what a daisy chain microphone system is. A daisy chain microphone setup allows multiple microphones to be connected in a series, sharing a single cable or power source. This configuration simplifies the wiring process and reduces clutter, making it an ideal choice for large - scale audio setups.
Daisy chain microphones are often used in conference rooms, lecture halls, and other venues where multiple speakers need to be heard clearly. They can also be used in recording studios to capture audio from multiple sources simultaneously.
The main components of a daisy chain microphone system typically include the microphones themselves, a daisy chain cable, and a mixer or audio interface. The microphones are connected one after another using the daisy chain cable, and the final microphone in the chain is connected to the mixer or audio interface.
Assessing Your Current System
The first step in upgrading your daisy chain microphone system is to assess your current setup. This involves evaluating the performance of your existing microphones, cables, and audio interfaces.
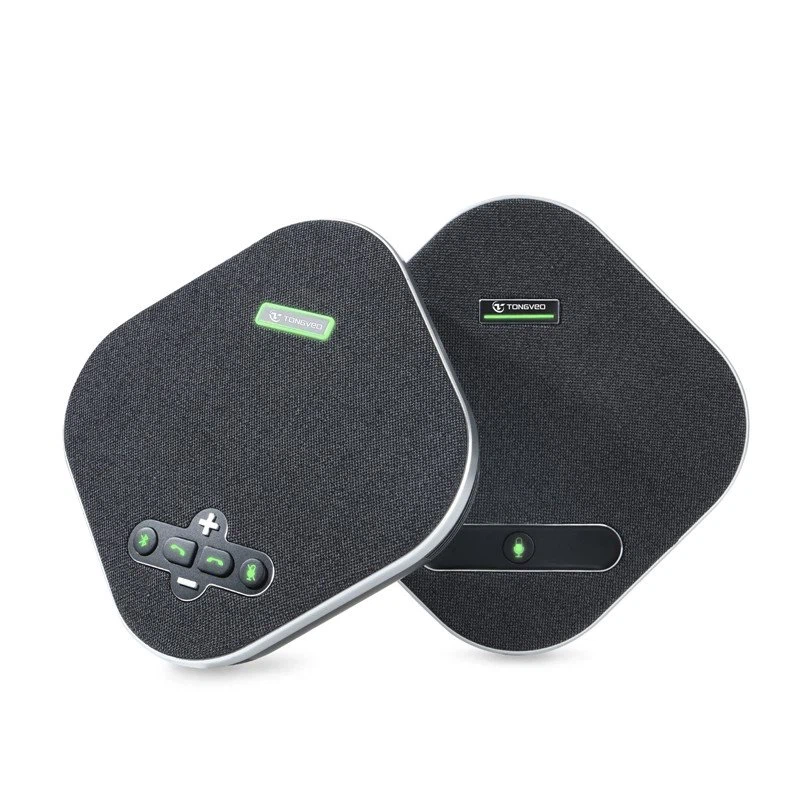
- Microphones: Check the audio quality of your microphones. Do they pick up sound clearly? Are there any issues with background noise or distortion? If you notice any problems, it might be time to consider upgrading to higher - quality microphones. For example, if you're using basic unidirectional microphones in a large conference room, you might want to upgrade to omnidirectional microphones for better sound coverage. You can find an excellent option in our USB Omnidirectional Conference Microphone, which offers superior sound quality and wide - range coverage.
- Cables: Inspect your daisy chain cables for any signs of damage, such as fraying or loose connections. Faulty cables can cause signal loss and audio degradation. If your cables are old or damaged, it's advisable to replace them with high - quality, shielded cables.
- Audio Interface: Evaluate the performance of your audio interface. Does it have enough input channels to accommodate your microphones? Is the audio processing of high quality? If your audio interface is outdated or doesn't meet your current needs, upgrading it can make a significant difference in the overall audio quality of your system.
Selecting the Right Components for Upgrade
Once you've assessed your current system, it's time to select the right components for the upgrade.
- Microphones: As mentioned earlier, the choice of microphones depends on your specific needs. For conference rooms, omnidirectional microphones are often a good choice as they can pick up sound from all directions. In recording studios, condenser microphones are popular for their high - fidelity sound capture. When selecting microphones, consider factors such as sensitivity, frequency response, and polar pattern.
- Cables: Choose cables that are designed for daisy chain connections and have good shielding to prevent interference. High - quality cables with low capacitance can ensure a strong and clear audio signal.
- Audio Interface: Look for an audio interface that has enough input channels for your microphones and offers advanced audio processing features. Some audio interfaces also come with built - in preamps, which can boost the microphone signal and improve the overall audio quality.
Upgrading the Microphones
If you've decided to upgrade your microphones, here's how you can do it:
- Disconnect the old microphones: Carefully unplug the old microphones from the daisy chain cable. Make sure to note the order in which they were connected.
- Prepare the new microphones: Read the user manual of the new microphones to understand their installation requirements. Some microphones may need to be powered on before use.
- Connect the new microphones: Connect the new microphones to the daisy chain cable in the same order as the old ones. Ensure that the connections are secure.
- Test the new microphones: After connecting all the new microphones, test them to make sure they are working properly. You can do this by speaking or making some noise near each microphone and checking the audio output on your mixer or audio interface.
Upgrading the Cables
Upgrading the cables is also a straightforward process:
- Remove the old cables: Gently unplug the old daisy chain cables from the microphones and the audio interface.
- Install the new cables: Connect the new cables to the microphones and the audio interface. Make sure to route the cables properly to avoid any kinks or bends that could affect the signal.
- Test the new cables: Once the new cables are installed, test the audio system to ensure that the cables are functioning correctly. Check for any signs of signal loss or interference.
Upgrading the Audio Interface
Upgrading the audio interface requires a bit more technical knowledge:
- Back up your audio settings: Before disconnecting the old audio interface, make a note of all your audio settings, such as gain levels, EQ settings, and routing.
- Disconnect the old audio interface: Unplug the old audio interface from your computer or mixer.
- Install the new audio interface: Follow the manufacturer's instructions to install the new audio interface. This may involve connecting it to your computer via USB or other interfaces and installing the necessary drivers.
- Re - configure your audio settings: After installing the new audio interface, re - configure your audio settings based on the notes you made earlier.
- Test the new audio interface: Test the audio system to ensure that the new audio interface is working properly. Check the audio quality and make any necessary adjustments.
Testing and Calibration
After upgrading all the components, it's crucial to test and calibrate your daisy chain microphone system.
- Audio Testing: Use a test tone or a simple voice test to check the audio quality of each microphone in the system. Make sure that all microphones are picking up sound clearly and that there are no issues with volume levels or distortion.
- Calibration: Calibrate the gain levels of each microphone to ensure that they are balanced. You can use a mixer or audio interface software to adjust the gain levels. Additionally, calibrate the EQ settings to optimize the audio frequency response for your specific environment.
Maintenance and Troubleshooting
Once your daisy chain microphone system is upgraded, regular maintenance is essential to keep it in good working condition.
- Cleaning: Regularly clean the microphones to remove any dust or debris that could affect their performance. You can use a soft, dry cloth to clean the microphone capsules.
- Inspection: Periodically inspect the cables and connections for any signs of damage or wear. Replace any faulty components immediately.
In case you encounter any problems with your upgraded system, here are some common troubleshooting tips:
- No Audio Output: Check if all the microphones are properly connected and powered on. Also, make sure that the audio interface is correctly installed and configured.
- Background Noise: If you hear background noise, check the shielding of your cables and make sure that the microphones are not too close to any sources of interference, such as electrical appliances.
- Distortion: Distortion can be caused by high gain levels or a faulty microphone. Try reducing the gain levels on your mixer or audio interface and check if the distortion persists.
Conclusion
Upgrading a daisy chain microphone system can be a rewarding experience that significantly improves the audio quality and functionality of your setup. By following the steps outlined in this blog, you can successfully upgrade your microphones, cables, and audio interface.
If you're interested in upgrading your daisy chain microphone system or have any questions about our products, we're here to help. Our team of experts can provide you with professional advice and support to ensure that you get the best audio solution for your needs. Contact us today to start the procurement and upgrade process.
References
- Manufacturer's manuals of daisy chain microphones, cables, and audio interfaces.
- Industry standards and best practices for audio system upgrades.


